Removing a caravan mixer tap may seem like a daunting task, but with the right tools and a bit of know-how, it can be a straightforward process. Whether you need to replace a faulty tap or simply want to upgrade to a newer model, removing the old tap is the first step.
Before you begin, make sure to turn off the water supply and drain any remaining water from the system. It’s also a good idea to gather all the necessary tools, including a box spanner, screwdriver, and pliers. Once you have everything you need, you can begin the process of removing the old mixer tap.
Understanding Caravan Mixer Tap
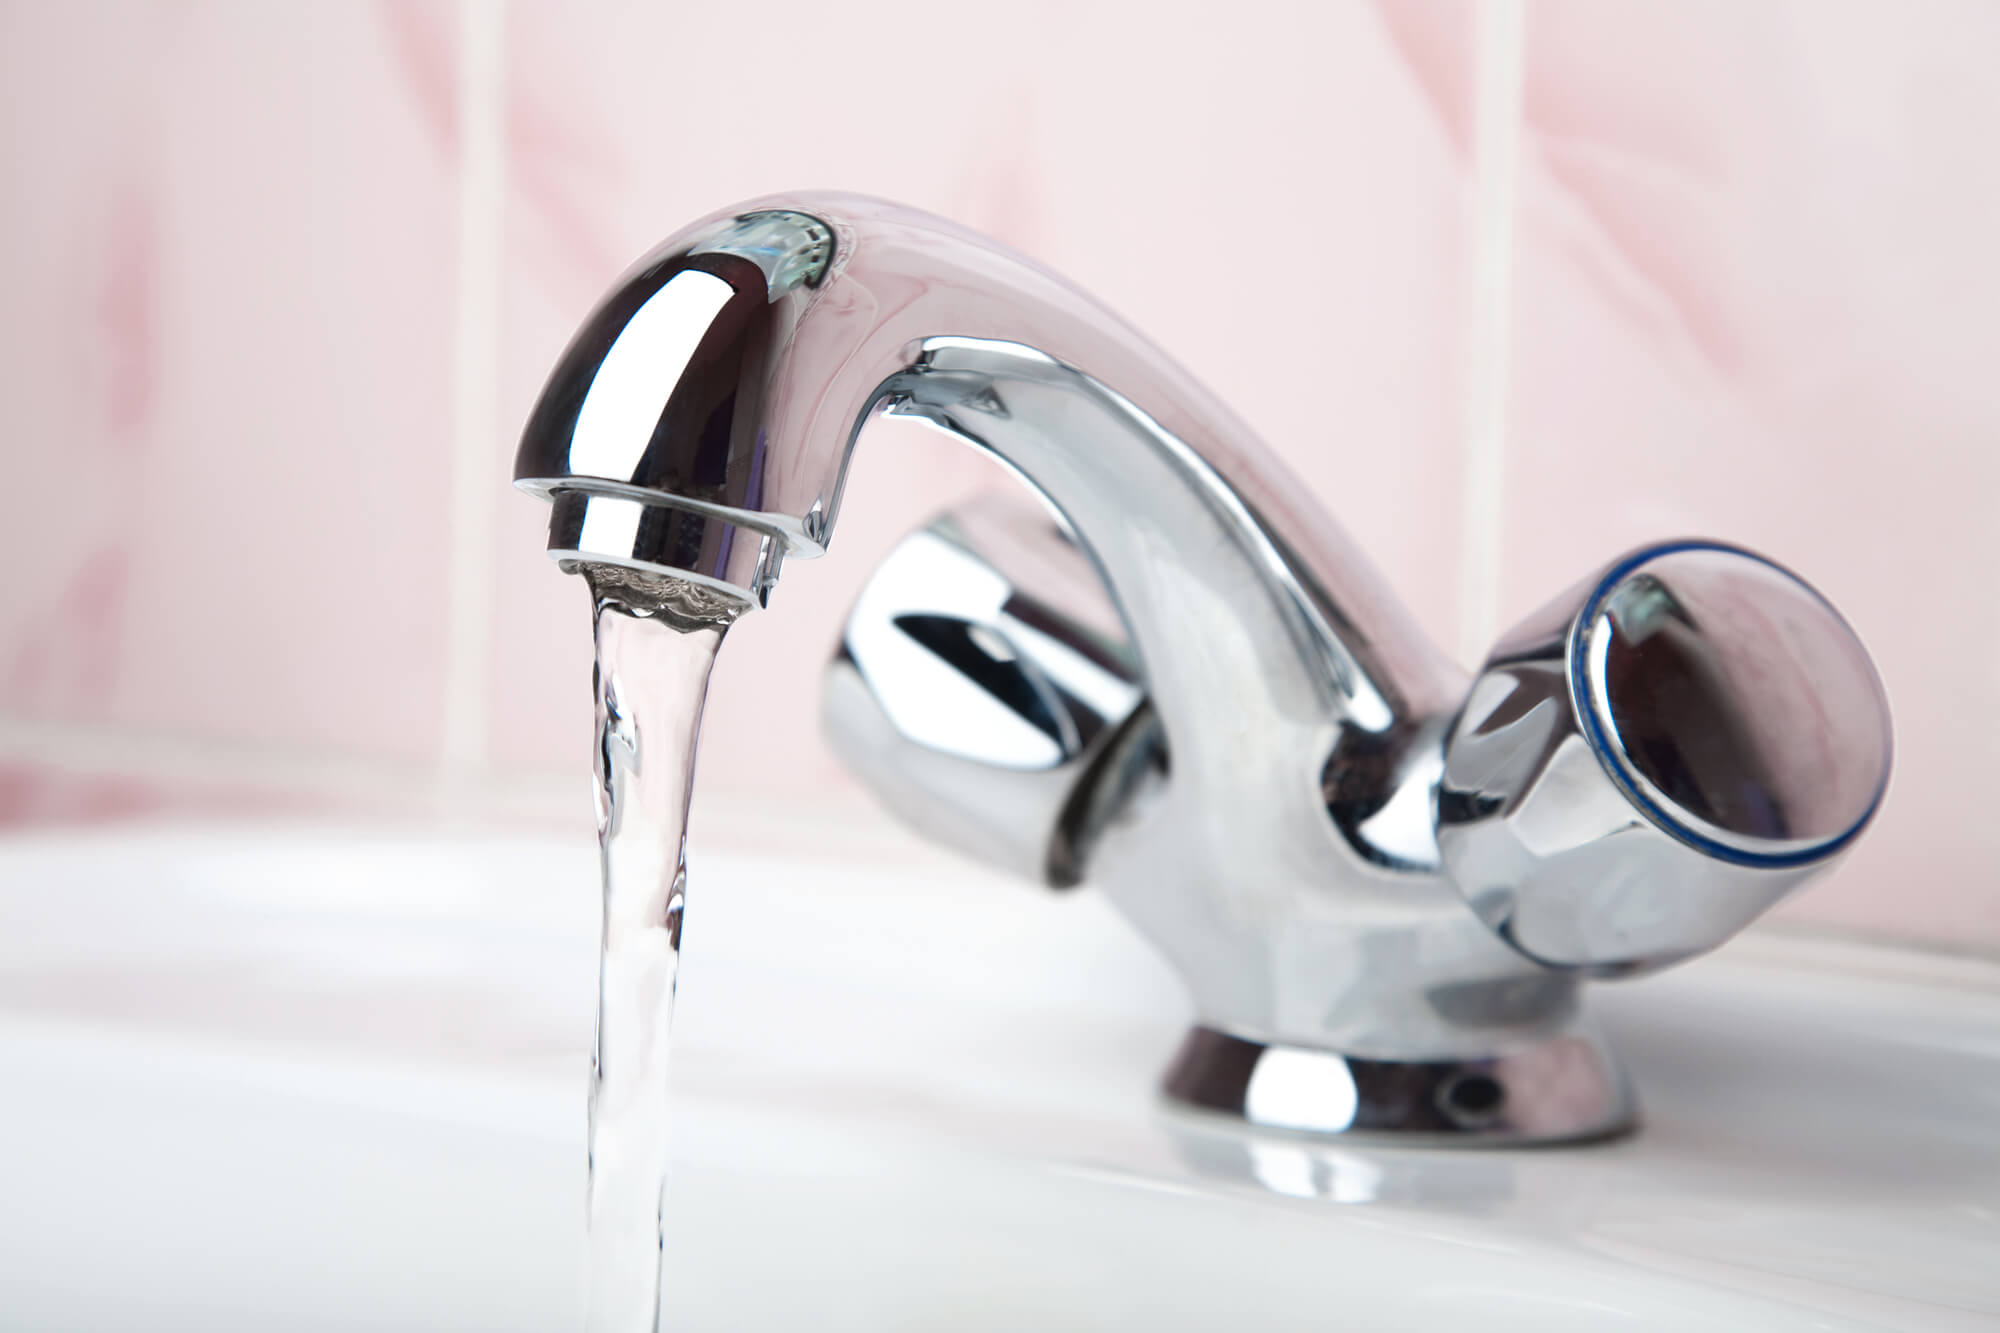
Caravan mixer taps are a vital component of any caravan’s water system. They are used to control the flow of water from the hot and cold supplies to the sink. Understanding the workings of a caravan mixer tap is essential for anyone looking to replace or repair one.
A caravan mixer tap typically has two levers, one for hot water and one for cold. These levers are connected to a cartridge, which controls the flow of water. The cartridge is housed in the body of the tap and is responsible for mixing the hot and cold water to the desired temperature.
It is important to note that there are different types of caravan mixer taps available, and the process of removing and replacing them may vary. Before attempting to remove a caravan mixer tap, it is essential to gather information about the specific model installed in your caravan. This information can be found in the caravan manual or by consulting an expert.
When removing a caravan mixer tap, it is essential to turn off the water supply first. This can usually be done by turning off the isolation valve located under the sink. Once the water supply is turned off, the tap can be disconnected from the water pipes and removed from the sink.
In summary, understanding the workings of a caravan mixer tap is essential for anyone looking to replace or repair one. It is important to gather information about the specific model installed in your caravan and to turn off the water supply before attempting to remove the tap. Consulting an expert may also be helpful in ensuring a successful removal and replacement process.
Components of a Caravan Mixer Tap
A caravan mixer tap is made up of several components that work together to control the flow and temperature of water. Understanding the different parts of a caravan mixer tap is essential when it comes to removing and replacing it.
The following are the main components of a caravan mixer tap:
Tap Assembly
The tap assembly is the main body of the mixer tap. It is responsible for controlling the flow of water and mixing hot and cold water to the desired temperature.
Lever
The lever is the part of the mixer tap that you turn to control the flow and temperature of water. It is usually made of plastic or metal and is attached to the tap assembly.
Cartridge
The cartridge is the part of the mixer tap that controls the water flow and temperature. It is usually made of ceramic or plastic and can be easily replaced if it becomes faulty.
Rubber Seal
The rubber seal is located at the base of the tap assembly and helps to prevent water from leaking out of the mixer tap.
Shroud
The shroud is the decorative cover that fits over the tap assembly and provides a finished look to the mixer tap.
Micro Switch Wires
The micro switch wires are responsible for turning the water pump on and off when the tap is opened and closed. They are usually located at the base of the tap assembly.
It is important to note that the components of a caravan mixer tap may vary depending on the make and model of the tap. Before removing or replacing a caravan mixer tap, it is important to identify the specific components of the tap and ensure that you have the necessary tools and replacement parts.
Tools Needed for the Task
To remove a caravan mixer tap, you will need a few tools to get the job done. Below are the essential tools you will need:
Screwdriver
You will need a screwdriver to remove the screws that hold the tap in place. The type of screwdriver you will need will depend on the type of screws used. Most caravan mixer taps use Philips head screws, so a crosshead screwdriver is recommended.
Allen Key
An Allen key or hex key is a small tool used to tighten or loosen hexagonal socket screws. You will need an Allen key or small screwdriver to unscrew the top of the tap. This exposes the cartridge of the tap, and using the correct size box spanner, you can remove it.
Jubilee Clips
Jubilee clips are used to secure hoses to fittings. You may need to use jubilee clips to secure the water hoses to the new tap.
Flathead Screwdriver
A flathead screwdriver or sharp knife may be required to remove the plastic cover that hides the screws that hold the tap in place.
In summary, to remove a caravan mixer tap, you will need a screwdriver, Allen key, jubilee clips, and a flathead screwdriver. Having these tools on hand will make the job easier and quicker.
Identifying the Problem
When it comes to removing a caravan mixer tap, the first step is identifying the problem. Some common issues that may require you to remove the tap include leaks, damage, or debris buildup.
If you notice that your tap is leaking, it’s important to determine the source of the leak. This could be due to a damaged cartridge, worn-out seals, or loose connections. Before attempting to remove the tap, it’s a good idea to turn off the water supply and drain any remaining water from the system.
If your tap is damaged or has visible signs of wear and tear, it may be time to replace it. This could involve removing the entire tap assembly or just the damaged parts. It’s important to identify the specific model of your tap to ensure you purchase the correct replacement parts.
Debris buildup can also cause issues with your caravan mixer tap. This could include mineral buildup from hard water, or debris from a clogged filter. In some cases, simply cleaning the tap and filter can resolve the issue. However, if the buildup is severe, it may be necessary to remove the tap and clean it thoroughly.
Overall, identifying the problem with your caravan mixer tap is the first step in the removal process. By taking the time to properly diagnose the issue, you can ensure that you’re addressing the root cause and avoiding any further damage to your system.
How to Remove a Mixer Tap from a Caravan
Removing a mixer tap from a caravan can be a simple process if done correctly. Here are the steps to follow:
- Turn off the water supply to the tap. This can usually be done by turning off the water pump or isolating the water supply to the caravan.
- Locate the screws that are holding the mixer tap in place. These screws are usually located underneath the tap, and they may be hidden by screw caps. Use a flat-head screwdriver to remove the screw caps, revealing the screws.
- Use a crosshead screwdriver to remove the screws. Be careful not to drop the screws as they can be difficult to find once they fall into the recesses of the caravan.
- Once the screws are removed, gently pull the tap away from the wall. If the tap is stuck, use a thin blade to gently pry it away from the wall.
- The mixer tap may be held in place by a clip. If this is the case, gently remove the clip using a pair of pliers.
- With the clip removed, the mixer tap should come away from the wall easily.
It is important to note that not all mixer taps are the same, and some may require additional steps to remove. If you are unsure about how to remove your mixer tap, consult the manufacturer’s instructions or seek professional help.
In summary, removing a mixer tap from a caravan involves turning off the water supply, locating and removing the screws, gently pulling the tap away from the wall, and removing any clips that may be holding it in place. With these steps, you should be able to remove your mixer tap with ease.
Disconnecting the Water System
Before you can remove a caravan mixer tap, you need to disconnect the water system. Here’s how to do it:
- Turn off the water supply: Before you disconnect anything, make sure that the water supply to the caravan is turned off. This will prevent any water from flowing out of the pipes and causing a mess.
- Locate the water pipes: The water pipes in a caravan are usually located underneath the sink or basin. You may need to remove a panel or cover to access them.
- Disconnect the pipes: To disconnect the pipes, you need to release the collar that holds them in place. You can do this by using an open spanner to push the collar towards the connector while pulling the pipe away. The further up the pipe the collar is, the more secure the pipe is.
- Remove the microswitch: If your caravan mixer tap has a microswitch, you will need to remove it before you can disconnect the pipes. The microswitch is usually located inside the tap unit. You can remove it by unscrewing the unit and gently pulling it out.
- Drain the system: Once you have disconnected the pipes and removed the microswitch, you need to drain the water system. To do this, turn on all the taps in the caravan and let them run until no more water comes out.
By following these steps, you can safely disconnect the water system in your caravan and remove the mixer tap. Remember to take your time and be careful when working with water pipes to avoid any damage or leaks.
Replacing the Mixer Tap
When it comes to replacing a mixer tap in your caravan, it’s important to have the right tools and knowledge to get the job done effectively. The first step is to identify the manufacturer and model of the tap that is currently installed in your caravan. This information can usually be found on the tap itself or in the owner’s manual.
Once you have identified the manufacturer and model, you can purchase a replacement tap from the same manufacturer or a compatible one from another manufacturer. It’s important to ensure that the new tap is compatible with your caravan’s plumbing system and that it is the correct size and shape to fit in the existing hole.
Before you begin the replacement process, turn off the water supply to your caravan and drain any remaining water from the system. This will prevent any leaks or damage to your caravan’s plumbing system during the replacement process.
To remove the old tap, you will need to unscrew the fixing bolts that hold the tap in place and disconnect the water supply hoses. It may also be necessary to remove any surrounding fixtures or fittings to gain access to the tap.
Once the old tap has been removed, you can install the new tap by following the manufacturer’s instructions. This will typically involve connecting the water supply hoses and securing the tap in place with fixing bolts.
After the new tap has been installed, turn the water supply back on and check for any leaks or issues with the new tap. If everything is working correctly, you can reattach any surrounding fixtures or fittings and enjoy your new mixer tap.
Overall, replacing a mixer tap in your caravan can be a straightforward process with the right tools and knowledge. By following the manufacturer’s instructions and taking the necessary precautions, you can ensure that your new tap is installed correctly and functions properly.
Reconnecting the Water System
Once you have successfully replaced the mixer tap, you will need to reconnect the water system to ensure that everything is working correctly. Here are some steps to follow:
- Reconnect the water pump: If you have disconnected the water pump during the removal process, make sure to reconnect it properly. Ensure that the pump is securely fastened and the connectors are properly attached.
- Check the spade terminals: Make sure that the spade terminals are properly connected to the water pump and the tap. If they are loose, use pliers to tighten them.
- Test the water system: Turn on the water pump and check the water flow. If there are any leaks or irregularities, turn off the water pump and check the connections again.
- Bleed the air from the system: If you notice any air bubbles in the water flow, you will need to bleed the air from the system. To do this, turn off the water pump and open the taps. Allow the air to escape until the water flows smoothly.
- Check for leaks: After bleeding the air from the system, check all the connections for leaks. If you notice any leaks, tighten the connections until the leaks stop.
By following these steps, you should be able to successfully reconnect the water system and ensure that everything is working correctly. Remember to be careful when working with the water pump and connectors, and always turn off the power before making any changes to the system.
Testing the New Installation
Once you have successfully replaced your caravan’s mixer tap, it’s time to test the new installation. Follow these steps to ensure everything is working correctly:
- Turn on the water supply and check for any leaks. Look for any dripping or pooling water around the base of the tap, under the sink, or anywhere else in the plumbing system. If you notice any leaks, turn off the water supply and tighten the fittings or connections as necessary.
- Test the hot and cold water separately. Turn on the hot water and let it run for a few minutes to ensure it’s flowing smoothly and at the correct temperature. Repeat the same process for the cold water. If you notice any issues, such as low water pressure or inconsistent temperature, check the connections and fittings for any problems.
- Check the water flow rate. Turn on the tap and measure how much water comes out in a minute. It should be between 6 and 12 litres per minute. If it’s outside of this range, you may need to adjust the water pressure or check the plumbing for any blockages.
- Test the tap’s functionality. Make sure the tap can be turned on and off easily, and that the water flow can be adjusted as desired. If you notice any issues, such as a loose handle or difficulty turning the tap on or off, check the connections and fittings for any problems.
- Finally, test the waste water system. Turn on the tap and let the water flow into the sink. Check that the water drains away quickly and without any blockages. If you notice any issues, such as slow drainage or gurgling sounds, check the waste water system for any blockages or leaks.
By following these steps, you can ensure that your new mixer tap is working correctly and that your caravan’s plumbing system is in good working order. Remember, if you’re not confident in your DIY skills, it’s always best to seek professional help.
Where to Find Spare Parts
If you need to replace a part of your caravan mixer tap, you may be wondering where to find spare parts. Here are some options:
- Manufacturer: The first place to check for spare parts is with the manufacturer of your caravan or the manufacturer of the tap itself. They may be able to provide you with the exact part you need.
- Online retailers: There are many online retailers that specialize in caravan parts and accessories. These retailers often have a wide selection of spare parts for caravan mixer taps. Some popular online retailers include Amazon, eBay, and Caravan Accessory Shop.
- Specialist caravan parts suppliers: There are also specialist caravan parts suppliers who may have a wider selection of spare parts for your mixer tap. These suppliers may also be able to provide you with expert advice on which part you need.
When searching for spare parts, it’s important to have the make and model of your caravan mixer tap to ensure you get the correct part. If you’re unsure what part you need, it may be helpful to consult the manufacturer or a specialist caravan parts supplier.
When purchasing spare parts online, be sure to check the seller’s return policy and customer reviews to ensure you’re getting a quality product. It’s also important to check the shipping time and cost, as some parts may need to be shipped from overseas.
In summary, there are several options for finding spare parts for your caravan mixer tap, including the manufacturer, online retailers, and specialist caravan parts suppliers. Be sure to have the make and model of your tap on hand and do your research before making a purchase.
Final Thoughts
In conclusion, removing a caravan mixer tap is a relatively straightforward process that can be accomplished with basic tools and a little bit of patience. However, it is important to exercise caution and follow the steps carefully to avoid damaging the tap or any surrounding fixtures.
If you are unsure about any aspect of the process, it is always a good idea to seek advice from a professional or consult the manufacturer’s instructions. It is also important to remember that different makes and models of taps may have slightly different removal procedures, so be sure to check the specific instructions for your tap before beginning any work.
If you encounter any problems during the removal process, such as a stuck bolt or a damaged fixture, it may be necessary to seek the help of a professional repair service. They will have the expertise and tools necessary to fix any issues and ensure that your caravan’s plumbing system is functioning correctly.
Overall, with the right tools, a little bit of know-how, and a careful approach, removing a caravan mixer tap can be a simple and straightforward process that can help you to maintain and repair your vehicle’s plumbing system. By following the steps outlined in this guide and taking the necessary precautions, you can ensure that your tap is removed safely and efficiently, allowing you to get back on the road in no time.
Frequently Asked Questions
How do I remove a caravan mixer tap?
Removing a caravan mixer tap can be done by following these steps:
- Turn off the water supply to the tap.
- Remove the screws or bolts that hold the tap in place.
- Disconnect the water supply hoses from the tap.
- Lift the tap out of the sink or worktop.
What tools do I need to remove a caravan mixer tap?
To remove a caravan mixer tap, you will need:
- Adjustable wrench
- Screwdriver
- Pliers
- Basin wrench (optional)
Can I replace a caravan mixer tap myself?
Yes, you can replace a caravan mixer tap yourself. However, if you are not confident in your abilities, it is always best to seek professional help.
How do I fix a leaking caravan mixer tap?
To fix a leaking caravan mixer tap, you can follow these steps:
- Turn off the water supply to the tap.
- Remove the tap.
- Check the washers, O-rings, and cartridges for damage.
- Replace any damaged parts.
- Reassemble the tap and turn the water supply back on.
Where can I find a replacement caravan mixer tap?
You can find a replacement caravan mixer tap at most caravan and motorhome accessory shops. You can also find them online from various retailers.
What are common problems with caravan mixer taps?
Common problems with caravan mixer taps include leaking, low water pressure, and difficulty in adjusting the temperature. These issues can often be fixed by replacing damaged parts or cleaning the tap.


